Google Drive for desktop: installing and working with Drive on your computer
Why do we recommend transitioning to using Google Drive on the desktop?
The reason is that working with a virtual drive is identical to working with a regular drive, just as you were used to until now. In addition, it provides other advantages:
- Creating folders, uploading files to the drive
Uploading files is done with a simple copy at the same speed and ease.
Google Drive software runs in the background and synchronizes between all the folders and the cloud.
Creating new folders is easily done with a single click of the mouse.
- Independence from the Internet
In the event of an internet disconnect, the folder remains preserved, and when the internet is restored, the synchronization process continues from where it stopped. When working from the installed Google Drive, there is hardly any need to continue through the browser, eliminating all the issues of slowness, lack of synchronization, and so on.
- Sharing actions
Additionally, sharing actions such as sharing folders can be done through the drive itself and not dependent on the browser.
However, you can still carry out any action directly from the browser, such as sharing and setting permissions.
1. Installing Google Drive on the desktop
In order to make working with Google Drive convenient and easy, it is recommended to download Google Drive to the desktop through the following link:
Download & install Drive for desktop
Click on the 'Download Drive for desktop' button. The installation file will be downloaded to your computer.

Now, follow these steps to install it:
- Opening the downloaded file - double-click on the downloaded file.
- Installation confirmation - click "Yes"
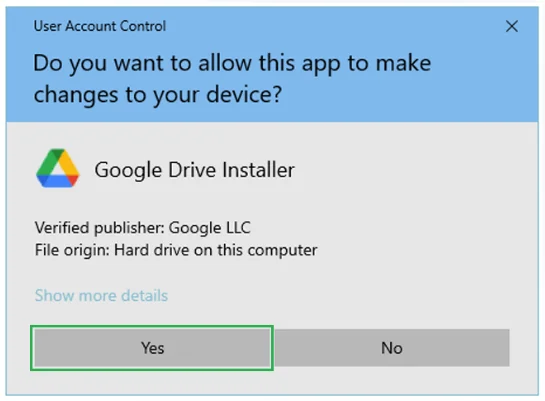
- Click on "Sign in with browser."
- User login - login to your Google account where you manage your business, not your personal or any other account.
2. Access to Google Drive on your computer
Now that the installation is complete, all that's left to do is access the new drive that was created.
Google has access to your computer.

In installations and drives, you can find the newly created drive.
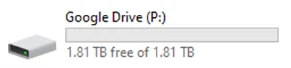
If the drive is not found, you will need to perform an initial synchronization in the application, and then the drive will appear.
3. Synchronization of Google Drive through the desktop
To enable quick and direct access to the Google Drive window, you need to pin the application  to the toolbar. You can do this by selecting and dragging the application icon to the toolbar. This action will pin the application icon, ensuring it always remains visible in the toolbar.
How to do it?
- In the toolbar, click the Show hidden icons arrow
- Choose Google Drive
- Drag and drop the icon that will be displayed permanently in the toolbar

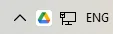
Now clicking on this icon will open access to Google Drive.
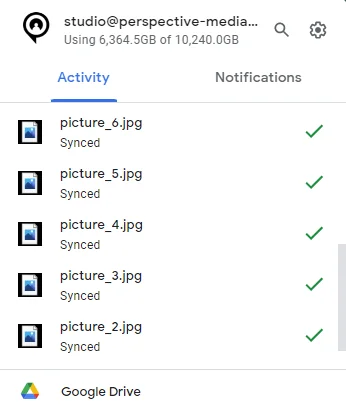
You can see if the files are synced when the message is displayed
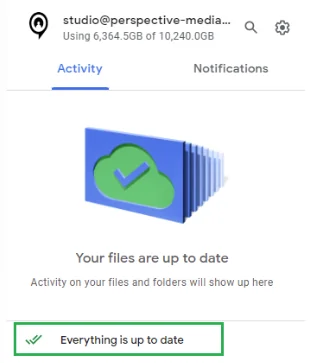
When a change is made to the folder, you will see green ticks near the files.
4. Google Drive for photographers: working with Perspective and Pixelect
Once the drive is installed, you work with your photos on your computer like any regular folder, and they sync to Google Drive. Here is how that fits with Pixelect, the Perspective gallery where clients select their photos:
- Save the photos from a shoot to a folder on your Google Drive drive; they upload to the cloud as they sync.
- In Pixelect, link that folder as the gallery photo source, with no re-uploading and no storage limits. See Create a gallery.
- Send your client the gallery link and let them pick their photos. See Sharing a gallery with your client.
- The client's selections open as a Google Drive folder, so you can go straight to editing on your computer. See Selections: download and re-select options.
For everyday work with the files on the drive, see also Managing files on desktop.
Loading comments connects to Facebook and shares your browser information with Facebook.